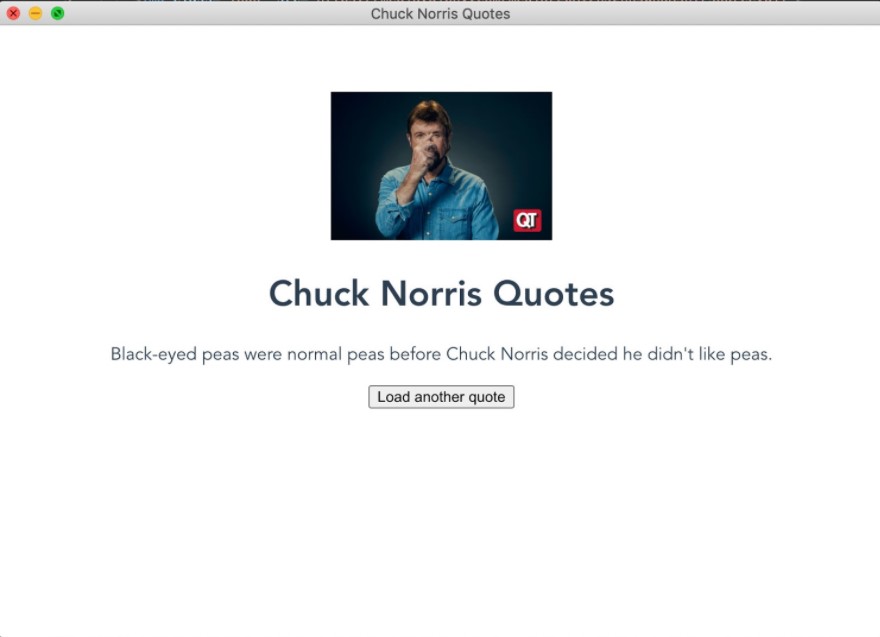
Front-end Developer Wojciech works with American actor, Chuck Norris, to demonstrate how easy it is to create a desktop app with Electron and Vue.
Innerworks is coming soon...
This blog was originally published on our previous Cogworks blog page. The Cogworks Blog is in the process of evolving into Innerworks, our new community-driven tech blog. With Innerworks, we aim to provide a space for collaboration, knowledge-sharing, and connection within the wider tech community. Watch this space for Innerworks updates, but don't worry - you'll still be able to access content from the original Cogworks Blog if you want.

Electron.js is a runtime framework based on Node.js and Chromium that allows you to write multi-platform applications using JavaScript, HTML and CSS. We encounter Electron.js all the time in applications such as Slack, Skype, WhatsApp, VS Code, Spotify, WordPress Desktop and many more!
In this post, I will show a simple example of using Electron.js with Vue.js.
First, let's take a look at the process behind Electron applications.
Main process
The process that runs package.js’s main script is called the main process. The main process has the power of Node.js APIs and is allowed access to native resources of the system. An Electron app always has one main process.
Renderer process
Electron uses Chromium’s multi-process architecture to display web pages. Each web page in Electron runs its own separate process which is called a renderer process. In most cases, you will also have a single renderer process which is usually just a JavaScript application combined with your preferred JS framework.
You could say that the renderer is a "frontend" layer, while the main process (the layer behind), acts as a kind of “backend” to an Electron application.
Communication
When it comes to communication between the main process and renderer process, Electron provides two IPC (Inter-Process Communication) modules called ipcMain and ipcRenderer:
- The ipcMain module is used to communicate asynchronously from the main process to the renderer process.
- The ipcRenderer module communicates asynchronously from the renderer process to the main process.

Main → Renderer
Example use case:
- When you read information using Node.js (for example from the local file) and want to send them to the renderer.
Renderer ← Main
Example use cases:
- When you want to save data to the file (or access any file on the file system).
- When you want to change the size of BrowserView after window resize.
There is one unique case, that is not so obvious to understand at first glance. Sometimes you have to communicate between elements like WebView (yes, every WebView has its own process) and the renderer which contains this WebView element (which is called host).
In such cases, we can use ipcRenderer and method sendToHost. It works the same as ipcRenderer.send method, but it sends events to the host page instead of the main process.

Example use cases:
- When you want to send height of HTML document displayed inside WebView component to host page.
- When you want to send a number of img tags to host page.
That’s enough theory for now, let’s go to practice and create a simple application using Electron and Vue.js!
Project setup
The set-up of the project is done manually by installing Electron.js as described here.
Next, install your preferred JavaScript framework (if you need any) for the web application, which will be wrapped by Electron and serve as a desktop application.
To make your life easier use - Vue CLI Plugin Electron Builder; a Vue plugin created by Noah Klyman. It will do all the work with the configuration and integration of Vue and Electron.
As the creator of the plugin says, it extends the regular config and works with all plugins and customized webpack options. It organizes the file structure of our app for you and makes the build process for all platforms much easier and faster!
To use this plugin, simply install:
1. Vue.js using Vue CLI: vue create image-checker
2. cd image-checker
3. Vue add electron-builder
After this step, your project is ready for development:
1. Run yarn serve to start vue application
2. Run yarn electron:serve to start electron desktop application
You should see something like this:
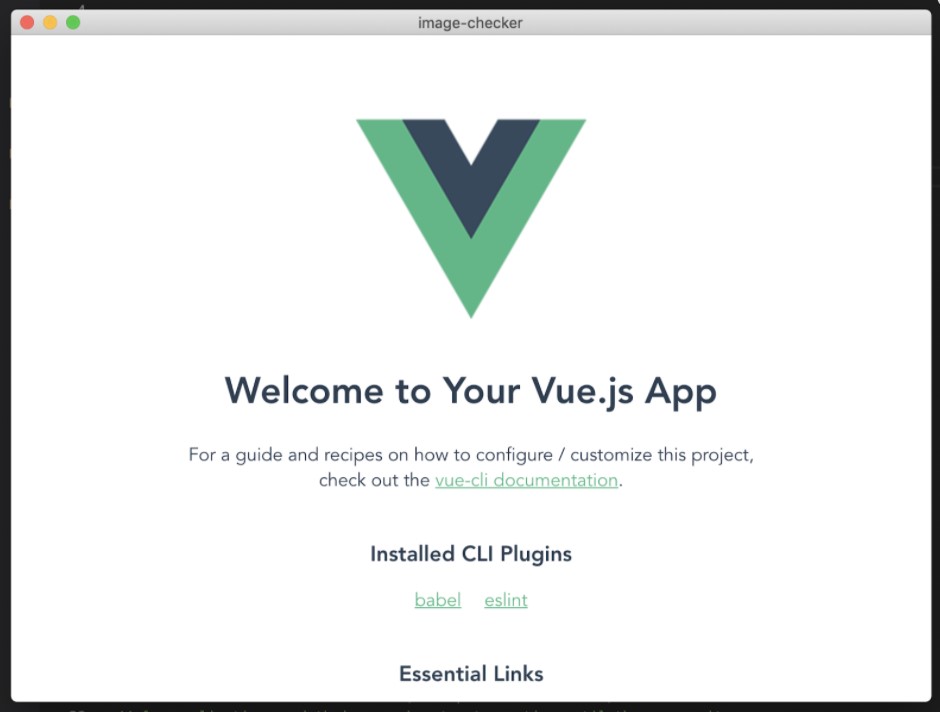
Voila! Now you have set up a project with a simple Electron.js application that displays content from a web application created in Vue.js!
In the next step, let's create a Vue application that displays random Chuck Norris quotes, why not? (Grab the quotes from this free API)
First, create a file called TheQuoteWrapper.vue inside components directory. Before you start to write this new component, install Axios library, which will be needed to get random Chuck’s quote from the API.
npm install --save axios
or
yarn add axios (if you use Yarn)
This is how the TheQuoteWrapper.vue looks:
<template><div><img class=“logo” src=“https://media.giphy.com/media/L0HIznJ2hn4WndRshY/source.gif”><h1>Chuck Norris Quotes</h1><TheQuote :quote=“quote” /> <button @click=“loadRandomQuote()“>Load another quote</button></div></template><script>import axios from ‘axios’import TheQuote from ‘./TheQuote.vue’export default {name: ‘TheQuoteWrapper’,components: {TheQuote},data () {return {quote: ‘’,apiUrl: ‘https://api.chucknorris.io/jokes/random’}},created () {this.loadRandomQuote()},methods: {async loadRandomQuote () {const response = await axios.get(this.apiUrl) this.quote = response.data.value}}}</script><style scoped>.logo {width: 200px;}</style>
As you can see, there is a listener triggered on click event on the button. It evokes the async method loadRandomQuote which will get a random quote from the API I mentioned above and pass it to another component called TheQuote.
Additionally, you can trigger the loadRandomQuote function also in the created lifecycle hook, to load the first quote from the API at application start.
TheQuote.vue is really simple and looks like this:
<template><p class=“quote”>{{ quote }}</p></template><script>export default {name: ‘TheQuote’,props: {quote: String}}</script><style>.quote {padding: 0 40px;}</style>
After this we should be able to see a working desktop application that displays random Chuck quotes!
That’s all for now.
Hopefully, you can see how easy it is (and how much fun it can be) to create a desktop application using Electron with any JavaScript framework!
Thank You